
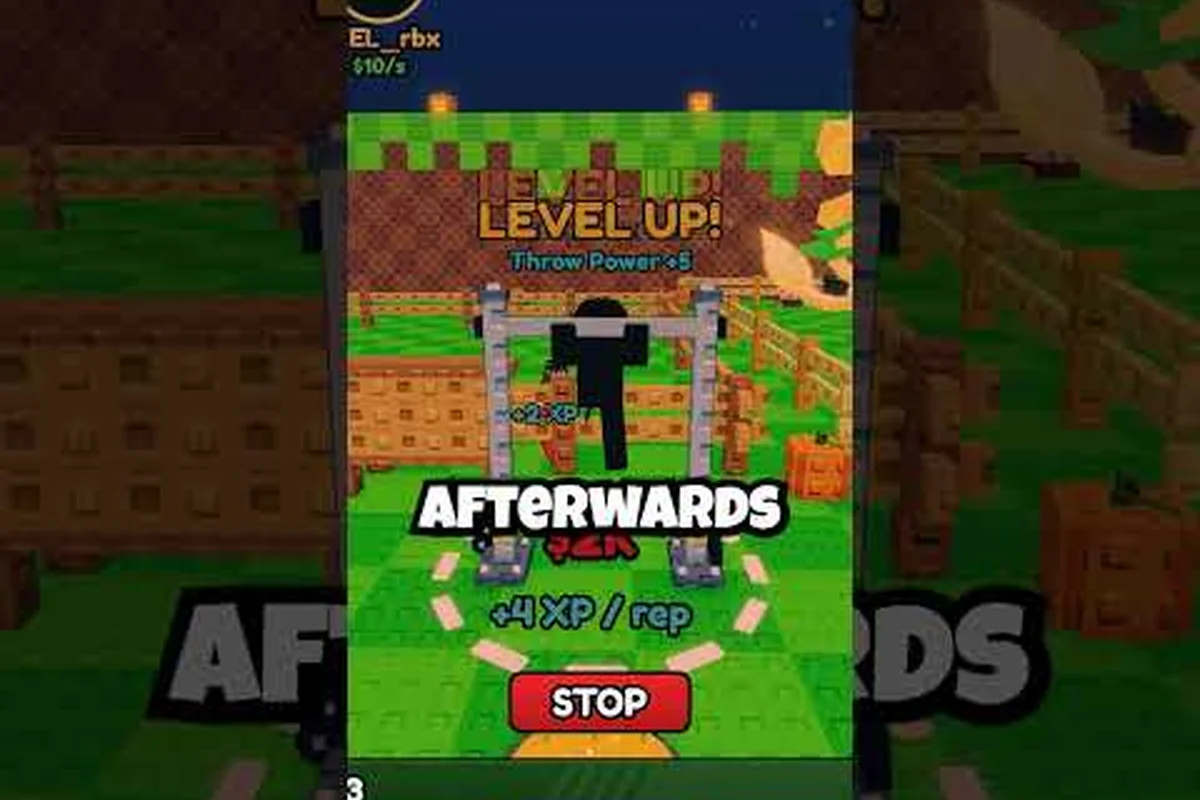
Knowing what to do first in Throw Food For Animals matters because your opening choices determine how quickly you unlock upgrades, conserve food, and expand your animal collection. Start by securing a dependable food source and prioritizing animals that produce a steady income, then reinvest part of that income into storage and collection upgrades. This creates a repeatable economy loop instead of spending every haul immediately, helping beginners progress without wasting premium supplies on low-value animals.
Starting Routine
Your first session should establish a repeatable loop: identify useful food, throw it toward an animal, collect the reward, sell efficiently, and reinvest in the next upgrade. Resist the temptation to test every item immediately, because each throw consumes inventory and time even when the result is poor.
The table below gives a practical priority order for your opening routine. It focuses on decisions that create more value before you unlock deeper areas or chase rare animals. For example, test basic food on nearby animals first, then compare the reward value of each collectible before expanding your inventory. Selling rewards in one batch saves menu time, while one clearly measured upgrade—such as better food or a larger carry capacity—gives your next throw cycle a faster payoff.
| Priority | Opening action | Why it matters | When to do it |
|---|---|---|---|
| 1 | Learn the throw-and-collect loop | Builds muscle memory before efficiency matters | First few minutes |
| 2 | Test basic food on nearby animals | Reveals what the starting area accepts | Immediately after learning movement |
| 3 | Keep only useful collectibles | Reduces clutter and prevents accidental sales | After every animal is collected |
| 4 | Sell accumulated rewards in one batch | Saves time and reduces interruptions | When your inventory approaches its limit |
| 5 | Buy one clear upgrade | Creates measurable progress | After the first meaningful sale |
| 6 | Expand the animal collection | Adds new goals and rewards | When basic throws are reliable |
Establish the Core Loop
Start by finding a comfortable area where several animals remain within reach. Your goal is not to achieve maximum throwing distance on the first attempt; it is to understand how movement, aim, and the food’s landing position affect the result. Reliable contact matters more than a spectacular miss, because repeated successful throws create a steady flow of rewards.
Once you can complete the loop without searching for explanations, move on to efficiency. The beginner guide provides a broader introduction to controls and early play, while this routine focuses on the decisions that come immediately after basic mechanics click.
Separate Collection From Selling
A common opening mistake is treating every nearby object as an immediate sale. Instead, divide your attention between two short phases: collect useful rewards from active animals, then sell them. This separation reduces wasted movement because you can complete one selling trip rather than repeatedly interrupting it whenever you pick up a small item.
| Moment | Collection priority | Sale priority |
|---|---|---|
| After a successful throw | Check the target animal and nearby drops | Keep collecting until the route is clear |
| Inventory below half full | Continue normal throws | Delay selling unless a rare drop appears |
| Inventory nearly full | Avoid unnecessary throws | Sell the accumulated rewards |
| New area unlocked | Observe what appears nearby | Decide whether the reward is worth the travel time |
This structure makes Throw Food For Animals starting out less stressful because you always know whether your current objective is gathering or converting inventory into cash. It also provides a simple recovery plan when a throw fails: collect what is available, finish nearby targets, and return to the selling point before trying again.
First Throws and Early Food Choices
The opening food selection should be judged by consistency, reachability, and resale value rather than by a complicated ranking. The food list and starting-food overview can help you compare available options, but the most useful first choice is one you can repeatedly use near your starting location.
Choose a starter food that can be collected cleanly without repeatedly repositioning your character. For example, if your first target stands beside a busy path, placing the food slightly off that path can make the pickup easier while keeping the reward available. Expensive or rare items may deliver stronger payouts, but they are poor early tools when missed throws consume your stock before you have learned the animal’s behavior, aim, and collection pattern.
| Early food decision | Advantage | Early drawback | Recommended approach |
|---|---|---|---|
| Cheap repeatable food | Low cost per throw | Smaller individual reward | Use for basic animal checks |
| Balanced mid-cost food | Reasonable reward and reach | May still be costly in bulk | Use after the first clean sale |
| High-value food | Potentially stronger payout | Wasteful while aiming is inconsistent | Save for confirmed targets |
| Mixed inventory | Flexibility across animals | Harder to track and optimize | Keep only until a better option appears |
Test Small Batches
Use a small test batch before committing to a large amount of food. Throw the same item at multiple nearby animals, then compare the result across species. Pay attention to whether the reward changes, whether the animal stays active, and whether your position allows you to collect everything without wandering back and forth.
Five-throw test is a useful opening benchmark: make five similar throws, note which animals respond, and keep only the food that produces useful returns. This is not a promise that one item is universally best, because areas and animals may change what matters. It is simply a fast way to avoid spending indiscriminately.
Watch the Full Value of a Throw
A food is not valuable only because it lands on an animal. Consider the complete result, including whether the animal produces a collectible, whether that collectible fits your goal, and whether you can retrieve it before it disappears or becomes irrelevant. A modest reward near you can be more valuable than a stronger reward that requires a long detour.
Before committing food to an animal, check its spawn location, required throw range, and reward drop: if the animal sits beside your path, even a low-value snack can outperform a high-value target across the map. Use this calculation while deciding whether to continue, then compare the expected reward with the inventory consumed and the seconds spent tracking the animal’s movement. For example, two nearby animals may be worth chasing if either produces a useful collectible, while a distant rare drop is poor value if it moves away before you can collect it. Practical throw value = usable reward value minus food cost minus time lost to collection.
The exact numbers depend on your current inventory and location, so test rather than assume. As a general rule, keep a throw when all three parts are favorable: the reward is useful, the cost is controlled, and the collection route is short.
First Sales and Money Decisions
Selling is where raw activity becomes progression. Try to arrive at the selling point with a meaningful group of rewards instead of selling after every throw. This reduces movement and lets you compare the group’s total value before making upgrades.
Keep spending decisions simple during the first cycle. Buy the upgrade that removes your clearest bottleneck, then use it until you can measure the improvement. If food rarely reaches a target, improve reach or accuracy. If animals fill the area faster than you can collect them, improve collection speed or inventory capacity. If the cash disappears without visible progress, preserve more money before buying again.
| Observed bottleneck | Upgrade type to consider | Result to watch | Avoid |
|---|---|---|---|
| Frequent near misses | Aim or throw control | More reliable contact | Buying unrelated cosmetics |
| Slow collection route | Movement or collection speed | Less time per target | Hoarding every drop |
| Constantly full inventory | Capacity or selling efficiency | Fewer abandoned rewards | Waiting until every slot is full |
| Weak early income | Food value or payout efficiency | Better funds per cycle | Buying the most expensive option first |
| No room for target animals | Area access or space-related upgrade | Access to new targets | Rushing ahead without income |
Create One Clear Cash Habit
A useful rule is to spend only when you can identify the problem the purchase solves. If money is low, maintain enough cash for repeated basic throws and delay decorative purchases. If throws are landing well but collection takes too long, reinvest in efficiency. This approach prevents the common pattern of buying a large upgrade before the player understands how the basic loop actually works.
Record your cycle in simple terms: food used, animals contacted, rewards collected, money earned, and time spent. Even five completed cycles can reveal which step consumes the most effort. For example, if every cycle produces a sale but almost no progress, the issue may be upgrade selection rather than throwing.
Avoid Selling the Wrong Things
Before visiting the seller, separate rewards into three groups: items you need for the current goal, items you plan to sell, and items whose value you do not understand. Sell the second group confidently. Keep the first group out of the sale until you know what completing the objective requires. Investigate the third group because an unfamiliar item may be more valuable than the common currency you are collecting.
A clean inventory reduces later confusion. It also gives you a better estimate of whether an upgrade helped, because the remaining items show what your run actually produced. Use that record when reviewing Throw Food For Animals tips for beginners and deciding whether your routine needs another adjustment.
Early Errors Worth Skipping
Early mistakes are usually costly because they repeat. The most damaging habit is throwing valuable food before establishing a reliable method. Another is expanding your collection without a reason, which can fill your inventory with rewards that do not support progression. More reliable collection and selling decisions prevent these losses.
| Mistake | Why it hurts | Better response |
|---|---|---|
| Using the costliest food immediately | Waste increases while technique is inconsistent | Begin with an inexpensive, repeatable option |
| Selling after every pickup | Breaks momentum and increases movement | Batch rewards before a selling trip |
| Keeping every collectible | Inventory fills with low-value clutter | Sort rewards into keep, sell, and unknown groups |
| Buying unrelated upgrades | Leaves the active bottleneck untouched | Buy for a diagnosed problem |
| Chasing a distant animal | Produces a long empty route | Finish nearby targets first |
| Rushing through areas | Earns less before the player is ready | Progress when the current loop is stable |
| Ignoring collection misses | Adds cost without completing the target | Use smaller test batches |
Overthrowing
Overthrowing can make the early game feel inefficient because food disappears faster than you can evaluate results. After several unsuccessful attempts, stop repeating the exact same placement. Move a short distance, change your angle, or switch to a food with different reach characteristics. The point is not to vary constantly; it is to make one controlled adjustment instead of burning the whole supply.
Controlled repetition means repeating a method only while it produces useful information. Two or three misses can reveal a placement problem, but ten identical misses usually indicate that the same approach no longer deserves more food. This distinction is central to a smooth progression guide because it protects both inventory and attention.
Ignoring Collection Order
Targets may look equally valuable, but their surrounding drops may not be. Before committing another throw, scan the area and note whether collection will be crowded or whether rewards might land apart from one another. Clear nearby targets first when possible, because this usually produces a cleaner route and reduces the chance of leaving something behind. The common beginner mistakes guide can help with additional recurring errors. For your own routine, the key improvement is to review one failed cycle each session and identify whether the cause was food, aim, movement, collection, selling, or spending.
Progression Guide for Areas and Upgrades
Progression should expand your earning power before it expands your travel distance. A new area is valuable when it contains better animals, rewards, or food opportunities that improve the whole loop. If it merely requires more walking without better rewards, moving there is not yet an improvement.
Before unlocking an area, compare four values: throw rate, average reward, collection efficiency, and travel time. You do not need exact statistics; a rough count from several cycles is enough. The area unlock overview can help identify what comes next, while your own observations should determine when you are ready.
| Readiness signal | Current status | Action |
|---|---|---|
| Basic throws are accurate | Ready to improve slightly | Keep practicing while earning |
| Most targets can be collected quickly | Stable | Consider the next upgrade |
| Selling route is long but reliable | Partly ready | Improve travel efficiency first |
| Inventory fills before a full sale | Not ready for expansion | Add capacity or shorten the route |
| Money grows steadily between cycles | Strong progression | Test a new area or target |
| Progress depends on one lucky reward | Unstable | Improve the repeatable source of income |
Upgrade in Sequence
Upgrade order matters more than upgrade prestige. First improve the step that repeatedly wastes time, then improve the step that limits income, and only afterward buy improvements that increase reach or support later areas. This sequence keeps earlier investments useful instead of allowing the account to run ahead of its economy.
| Progression stage | Primary goal | Example upgrade priority | Exit condition |
|---|---|---|---|
| Foundation | Learn the loop | Basic throw or movement improvement | Repeated throws succeed |
| Consistency | Reduce waste | Aim, food, or collection efficiency | Reliable cycles with less loss |
| Capacity | Carry and convert more value | Inventory or selling improvement | Rewards convert without bottlenecks |
| Expansion | Enter productive new areas | Access-related improvements | New area improves income |
| Optimization | Refine mature loops | Specialized upgrades | Faster cycles without constant supervision |
Move On for a Reason
Do not unlock an area solely because the button is available. Wait until you can gather a full batch of rewards, sell it reliably, and identify a target that motivates the move. A good new area should improve the reward per trip or open a better upgrade path. If neither happens immediately, continue refining the current area while occasionally checking its potential.
This is also where Throw Food For Animals progression guide advice becomes personal rather than universal. Your food costs, throw distance, and bottleneck may differ from another player’s. The broader progression reference can establish possible destinations, but your route should be based on measured cycle results.
A Complete First Session Plan
A first session should end with a routine you understand, not simply with the largest possible number of throws. Complete enough cycles to compare food and target types, make one justified upgrade, and note the exact obstacle that slowed you down. That observation becomes the starting point for the next session.
| Session stage | Objective | Completion signal |
|---|---|---|
| Opening minute | Learn movement, aim, and collection | Several successful throws |
| Early test | Compare basic food options | One or two repeatable choices |
| First sale | Batch rewards and sell them | Money available for a purchase |
| First upgrade | Address one bottleneck | Clearer improvement in the loop |
| Mid-session review | Adjust aim or collection route | Fewer wasted throws |
| Closing cycle | Repeat the improved routine | Consistent income and collection |
Keep a Three-Note Review
End with three short notes: what worked, what wasted resources, and the next planned change. For example, “nearby targets produce fast sales,” “far throws consume too much food,” and “test the shorter range option next time.” These notes make future improvement specific rather than vague.
| Note type | Weak example | Useful example |
|---|---|---|
| Result | Throws are bad | Medium-range food connects reliably |
| Mistake | I wasted food | Valuable food was used on distant targets |
| Next action | Play better | Test a cheaper food at shorter range |
| Upgrade reason | Buy something good | Capacity improves because sales occur every second cycle |
The review also prevents the common habit of making several changes at once. Keep one variable stable, such as food type or route, while changing another. If results improve, you will know what to repeat. This approach gives Throw Food For Animals tips for beginners a measurable foundation rather than a list of disconnected tricks.
Know When to Pause
Stopping after a clean cycle can be smarter than continuing until performance declines. If you have made a useful sale, completed the intended upgrade, and identified the next target, record those results and end the session. Returning with a fresh inventory and a clear objective is usually more productive than repeating a routine until every recent mistake erases the progress.
Frequently Asked Questions
What should I prioritize when starting Throw Food For Animals?
Prioritize a reliable throw-and-collect loop, inexpensive test batches, and regular selling before chasing rare collectibles. Your first goal should be repeatable income, because steady funds let you choose upgrades deliberately and recover from mistakes without needing a lucky reward.
Should I sell every reward immediately after collecting it?
No—batch ordinary rewards instead of selling each drop immediately, since grouped sales reduce movement and let you compare item value faster. For example, collect common food rewards across several throws, keep anything required for an active goal, inspect unfamiliar drops, and sell the remainder once your inventory nears capacity or you finish a planned collection route.
How do I know which food to use at the beginning?
Test several inexpensive options over short batches, comparing successful contact, reward usefulness, collection distance, and total cost. Keep the option that produces the most practical value per cycle rather than choosing solely by purchase price or a general rarity label.
When should I buy my first upgrade?
Buy your first upgrade after completing enough cycles to identify a repeated bottleneck. Choose reach if you miss constantly, collection speed if targets take too long, or capacity if inventory fills before a sale. Avoid buying several unrelated upgrades at once.
When should I move to a new area in Throw Food For Animals?
Move when your current loop is stable and the new area offers better rewards or access to useful upgrades. Complete several full gather-and-sell cycles first, compare the results with your starting area, and account for travel time before committing to the change.