
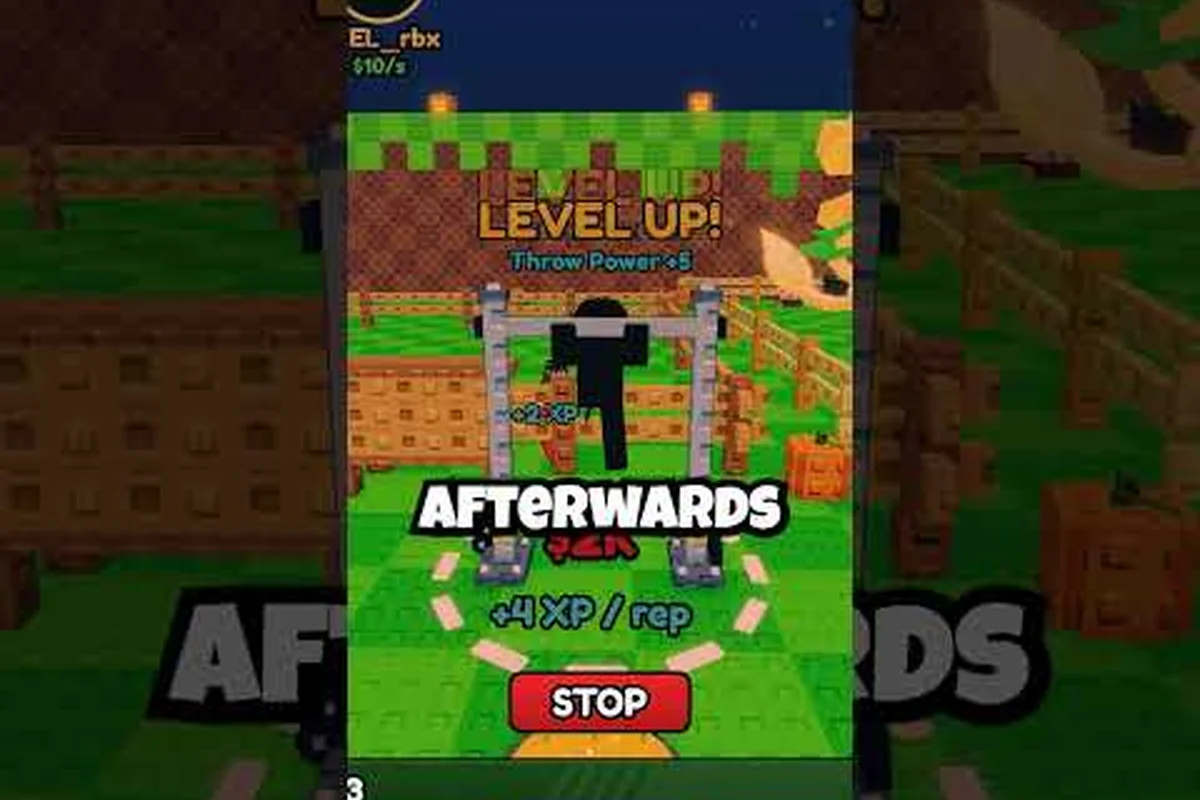
Throw food for animals with better timing, stronger throws, and less wasted inventory. This beginner guide explains how to play Throw Food For Animals, collect nearby creatures, and turn early finds into money. Start by checking each animal’s distance and the food’s type before throwing: a well-aimed catch can add a creature to your collection, while a missed throw may leave food unused. For example, approach an animal until it is within range, aim the food at its position, and release once the targeting line is clear. This makes early gathering more efficient and gives new players a practical foundation for building money.
What Throw Food For Animals Beginner Guide Players Need First
Your first session is about learning a compact loop: identify the animal, aim the food, release the throw, move toward the catch, and repeat before selling. The useful skill is not a complicated trick; it is keeping each action connected so that one successful throw leads into the next.
Before your first throw, learn what the interface shows, which objects can be selected, and how the collection radius works. The game’s core interactions should remain visible, but a clean HUD helps you judge distance without repeatedly opening menus. If the controls feel crowded on a phone or tablet, the free-to-play progression guide provides a practical way to focus on useful upgrades rather than paid extras.
| First-session priority | What to learn | Why it helps |
|---|---|---|
| Basic throw | Release timing and aim direction | Improves consistency |
| Animal movement | Walk into a nearby catch | Reduces wasted throws |
| Inventory review | Keep valuable and useful finds | Prevents accidental sales |
| Selling cycle | Bank early earnings | Creates room for upgrades |
| Area progression | Reach the next zone when ready | Expands available animals |
The Basic Control Loop
The central action is straightforward: choose food, aim at an animal, and throw. Beginners often change food too quickly or throw immediately after selecting it, which makes the next action harder to read. Take one extra beat to confirm that your target is still standing and that your intended path has room.
After a successful landing, move toward the animal. The nearby collection interaction is more reliable than throwing from maximum range because it reduces the number of variables between release and pickup. Once the catch is secured, quickly review the notification, keep the item you need, and resume searching.
A Clean First Inventory
Your first inventory does not need to be perfect, but it should have a purpose. Separate animals you plan to keep from animals you can sell or use. As a rule, avoid emptying every catch immediately, because a valuable early animal can fund better equipment after only a short collection run.
A practical early setup includes one food type for frequent practice, a second food for testing a different animal, and enough inventory space for several catches. If storage becomes restrictive, sell only after checking recent gains. For a broader item checklist, use the complete new-player guide.
How to Play Throw Food For Animals for New Players
New players benefit from a deliberate practice routine that separates aiming, throwing, collection, and selling. Trying to master all four actions at once creates avoidable mistakes. Begin with a simple target near your character, complete several catches, and only then test a longer throw.
Step 1: Learn the Throw Direction
A useful first throw lands close enough that you can see exactly where the food went. Turn in place, release once, and note whether the arc curves, slides, or stops. If the throw lands far beyond the target, reduce your directional commitment. If it falls short, adjust in the opposite direction.
| Throw result | Likely adjustment | What to practice next |
|---|---|---|
| Consistently short | Aim farther ahead | Keep the same nearby target |
| Wildly long | Soften the aim | Test a controlled step forward |
| Correct range, poor timing | Wait before release | Watch the animal’s movement |
| Misses sideways | Face the target directly | Avoid turning during the throw |
| Hits, but pickup is slow | Move toward the landing point | Collect sooner after release |
Step 2: Collect Nearby Animals
A hit does not complete the full cycle if you leave the animal behind. Walk toward the catch as soon as the food lands. Nearby collection reduces wasted travel time and creates a smooth rhythm: throw, step, collect, select food, throw again.
This matters because the visual pace can make the game seem easier when you are actively collecting. Try to keep your character moving between actions rather than standing still after every release. The game’s Throw Rhythm comes from connecting those steps without spending several seconds checking a full menu.
Step 3: Protect Valuable Finds
The notification after a catch is your quickest assessment tool. Check whether the animal is a keeper, an upgrade ingredient, an immediate sale, or something you do not yet understand. If it is unclear, keep it until you have checked the relevant guide; an accidental sale can remove an option you expected to use later.
A balanced inventory is more useful than a crowded one, so prioritize known upgrade materials, one or two dependable catch types, and a small cash reserve. For example, if a catch notification identifies an unfamiliar animal that could become a future upgrade ingredient, hold it temporarily rather than selling it immediately. Keep only a few clearly useful item stacks on hand; excess catch types can make it harder to spot the materials needed for the next upgrade and may leave you without enough cash to cover a needed purchase.
Step 4: Sell and Reinvest
Selling is not the finish of the first objective; it funds the next upgrade. Before visiting a seller, compare the sale value of your stack with any item you might need. When the inventory contains duplicates or low-priority animals, convert those first.
Use the same rule for upgrades: buy only when you understand the improvement. A clear increase in throw range, collection speed, or inventory capacity can make every later catch more productive. If you already know the basics, the fast progression guide explains how to avoid inefficient spending.
Core Throw Food For Animals Mechanics Every Beginner Should Learn
Early progress comes from understanding the relationship between distance, timing, collection, and value. Throwing farther is appealing, but a precise nearby throw often produces more catches per minute. The best beginner strategy is to improve one variable at a time and measure whether the result improved.
Distance and Accuracy
Longer throws expand the number of animals you can reach, yet they also make missed shots more costly. Begin by mastering a dependable range, then add distance. A consistent medium throw is more valuable than a spectacular long throw that regularly misses because the animal moved.
The useful comparison is Hit Rate against Catches per Minute. A player with a shorter but accurate throw may gather animals faster than one who frequently sends food into empty ground. Use nearby targets for accuracy drills, then challenge yourself with moving animals after the basic release has become predictable.
| Throw style | Strength | Main drawback | Best use |
|---|---|---|---|
| Short and precise | Reliable hits | Limited reach | Learning and nearby collection |
| Medium range | Balanced coverage | Requires timing | Everyday collection |
| Long range | Reaches distant animals | More costly misses | Targeted rare catches |
| Moving throws | Better tracking | Harder to control | Animals with clear movement patterns |
Timing Around Moving Animals
Timing means choosing when to release rather than rushing the button. Watch the animal complete a small movement cycle, then lead it slightly if the food travels forward. The exact lead depends on distance, so use a nearby target when establishing the timing.
If you consistently miss because you release after the animal passes, throw earlier and aim slightly ahead of its current position. If the food lands in front of its path, release later so the animal reaches it while moving. For example, when targeting a nearby animal crossing from left to right, a very short throw may need less lead than a long throw. Test one variable at a time—release timing first, then distance—and note whether the food lands ahead, beside, or behind the animal. These observations create a quick correction loop without requiring complicated controls.
Collection Speed
Collection speed influences the entire cycle. Each extra second spent running toward a catch reduces the number of animals you can gather during a session. Aim to release the next food only after the current catch has been secured, unless the game clearly supports queuing or automatic actions.
Close Collection is usually the simplest upgrade target for beginners because it improves the moment between landing and pickup. By contrast, a pure distance upgrade may not help when your accuracy is still developing. Balance convenience with the part of the loop that most often slows you down.
Food Choice and Target Value
Different food and animal combinations should be treated as practical tests rather than permanent favorites. Select a food, attempt a catch, and record the result. Some options may be easier to land, while others may produce higher-value animals or better upgrade materials.
| Food-testing result | Interpretation | Best response |
|---|---|---|
| High accuracy, modest value | Reliable basic option | Keep for routine collection |
| Low accuracy, high value | Valuable but difficult target | Practice before committing |
| Slow movement requirement | Easy target, slow payoff | Use while improving timing |
| Fast movement requirement | Greater challenge | Delay until control improves |
| Low accuracy and low value | Weak combination | Change food or target |
Because prices and available animals can change by version, treat community-reported values as temporary guidance rather than permanent guarantees. For example, if a food is listed as producing a common animal worth 50 coins, verify the current in-game shop or wiki entry before spending scarce currency; a later update may change the drop rate, animal availability, or sell price. When a combination performs differently from the reported result, record the food, target area, and outcome in your testing notes so you can distinguish a normal random drop from a genuine balance change.
A Reliable Throw Food For Animals First Time Playing Routine
A short routine is easier to remember than a long list of rules. Use four stages—survey, throw, collect, bank—and repeat them until each stage becomes automatic. This routine is especially useful during Throw Food For Animals first time playing sessions, when unfamiliar menus can interrupt your concentration.
The Five-Minute Routine
Start by surveying the immediate area for the closest useful animal. Choose a food that offers a manageable matchup, then make a controlled throw. Move toward the catch, inspect what you received, and return to the survey. After roughly five minutes, bank clearly disposable items and note which step slowed you down most.
| Time | Focus | Concrete action |
|---|---|---|
| First minute | Controls | Practice release timing at close range |
| Second minute | Accuracy | Hit the same nearby target repeatedly |
| Third minute | Collection | Move immediately after each landing |
| Fourth minute | Value | Identify one keep and one sell item |
| Fifth minute | Banking | Sell duplicates and review upgrades |
When to Upgrade
Upgrade only when its purpose matches your current bottleneck. If animals keep escaping because they are too far away, improve range. If throws land accurately but pickup is slow, prioritize collection. If the inventory is full, capacity matters more than another small throwing bonus.
This decision process prevents wasted spending. A strong upgrade should remove a recurring obstacle, not merely create a larger number. Keep a small cash reserve for emergencies, and avoid buying several related boosts at once before testing the first one.
When to Move to Another Area
Move when the starting area no longer gives you a useful catch, your throws consistently fall short of nearby targets, or the available animals no longer support your current goal. Check the area progression guide before making the trip so you know which unlock condition comes next.
Do not leave immediately because one animal is difficult. Make several attempts first and compare the results: note whether your throws land closer, whether the target animal still triggers reliably, and whether the catch rate improves after adjusting distance or timing. For example, if five consecutive throws produce no catch but the sixth lands within range, continue briefly to confirm a pattern instead of moving at once. If the area remains unprofitable and a new animal or zone is available through progression, move forward, since the higher-level unlock may provide more food per successful catch and reduce the effort spent on unreliable targets.
Handling Common Mistakes
| Mistake | Result | Correction |
|---|---|---|
| Spamming throws | Food misses or values are ignored | Release deliberately |
| Running after every distant animal | Session loses momentum | Prioritize nearby catches |
| Selling the whole inventory | Upgrade options disappear | Keep useful catches |
| Buying upgrades blindly | Cash is spent without clear benefit | Fix one known bottleneck |
| Leaving at the first hard animal | Progress stalls | Test nearby targets first |
Beginner Earnings and Smart Spending Decisions
Turning catches into money requires a simple inventory routine. Sort every item by immediate value, upgrade relevance, and uncertainty, then compare the best sale option with the upgrade you can afford now. For example, if a common catch sells for 50 coins while a rare catch sells for 120, selling the common item may fund a faster upgrade than waiting for the rare one to be used. Items you understand are easiest to evaluate; rare or unfamiliar catches should remain in reserve until their purpose is clear.
Separate Selling Tiers
Create three groups before you head to the seller. Sell Now contains duplicates and low-value catches. Keep for Upgrades contains materials linked to a planned purchase. Undecided holds unfamiliar or potentially valuable animals. This prevents a last-second impulse sale from weakening your next progression step.
Compare the value of the Sell Now group with the cost of the next upgrade. If the upgrade produces a clear improvement, buying it may be sensible. If not, save until the stack is larger or a more relevant upgrade appears. The exact cash totals vary with platform, version, and animal availability, so use displayed prices as the reliable reference.
Why Short Collection Runs Work
Short runs let you return to the seller while your inventory still has manageable value. They also reduce the chance that one difficult animal interrupts a productive session. A reliable pattern is to collect, bank, and inspect the next affordable upgrade before returning to the field.
Longer sessions can still be efficient if your aim and collection are stable, because the setup cost of entering an area is already paid. The key metric is not the session length but the ratio of time spent throwing to time spent waiting, opening menus, or chasing missed food.
Community Reports and Version Changes
Players have reported that the most useful early improvements come from basic range, collection, and capacity, but individual results may vary by update. Community experience is best treated as a testing clue. Confirm the current interface and prices inside the game, because this guide’s core advice is about decision-making rather than permanent numerical promises.
| Earnings goal | Best action | Caution |
|---|---|---|
| Build starter cash | Sell duplicate animals | Keep upgrade materials |
| Unlock range | Save toward one range upgrade | Test accuracy afterward |
| Clear inventory | Upgrade capacity or bank often | Do not sell keepers |
| Improve catches per minute | Prioritize collection and timing | Distance alone may not help |
Common Beginner Problems and Fast Fixes
Most early setbacks come from a few repeated actions, so diagnosing where the mistake occurs is more efficient than buying another upgrade. If animals repeatedly miss the food, check your aim; if hits land but are not collected, adjust the timing and landing position; if the feeding succeeds but earnings stall, inspect the selling step. Keep a simple log of aim, timing, collection, and selling to spot the exact failure point.
If Your Throws Keep Missing
Move closer to the target and reduce the distance until you can land three controlled throws. Then increase the range one small step at a time. If close throws still miss, your issue is probably release timing or target tracking rather than distance.
If the Inventory Fills Too Fast
Bank earlier and keep fewer uncertain items. Capacity upgrades can help, but clearing obvious duplicates creates immediate breathing room. Compare the income from a short run with the price of capacity so you can see which option produces a faster return.
If Progress Seems Slow
Separate gameplay improvement from shopping. Practice one skill—timing, aim, or collection—for several minutes before buying anything else. Then use earnings on the upgrade that addresses your measured bottleneck. This approach keeps Throw Food For Animals for new players focused on visible improvement rather than constant menu changes.
If a Rare Animal Is Frustrating
Choose a less difficult target for a few rounds, then return with a specific timing plan. Watch the movement cycle, choose the release moment, and lead the animal only as much as your current range requires. A short break can also reduce repeated overcorrection.
Frequently Asked Questions
What is the easiest way to start Throw Food For Animals?
Start with nearby animals, controlled throws, and immediate collection. Accuracy builds faster than forcing long-distance shots. Keep at least one useful item in reserve, bank duplicates, and spend early cash only on the upgrade that fixes your clearest bottleneck.
Should beginners throw food far away immediately?
No. First practice landing a short or medium throw consistently, because reliable nearby catches create more income and teach release timing. For example, aim for targets within an easy arc and confirm the food lands on the animal before increasing distance; repeated misses waste the thrown item and delay upgrades. Once your short-throw accuracy is stable, test slightly longer throws against moving targets and compare the catch rate with the amount of food used.
What should a new player do with every animal caught?
Check the catch notification and classify it as a keeper, upgrade material, sale, or uncertain item. Keep known materials and valuable catches, then sell duplicates. Avoid emptying the inventory because a later area may require an animal or material you already sold.
How do beginners turn early finds into money? Sell duplicate catches only after checking their value, keeping rare animals and upgrade materials, and confirming that a sale will fund the next meaningful upgrade rather than a temporary cosmetic purchase. A practical approach is to bank a small batch of nearby catches, compare the total with the displayed upgrade cost, and preserve enough cash to handle a missed throw or an expensive area unlock.
Collect several nearby catches before banking, but stop before your inventory becomes difficult to manage. Sell duplicate animals first, compare the stack with the next upgrade, and retain a small cash reserve. Exact prices can change, so rely on the current in-game display.
Is collecting closer better than chasing distant animals?
Early in the game, usually yes. Nearby collection reduces wasted time and makes each throw easier to evaluate. Chasing distant animals makes sense when they offer a clearly higher value, the target is easy to reach, and the catch rate remains high enough to justify the travel.